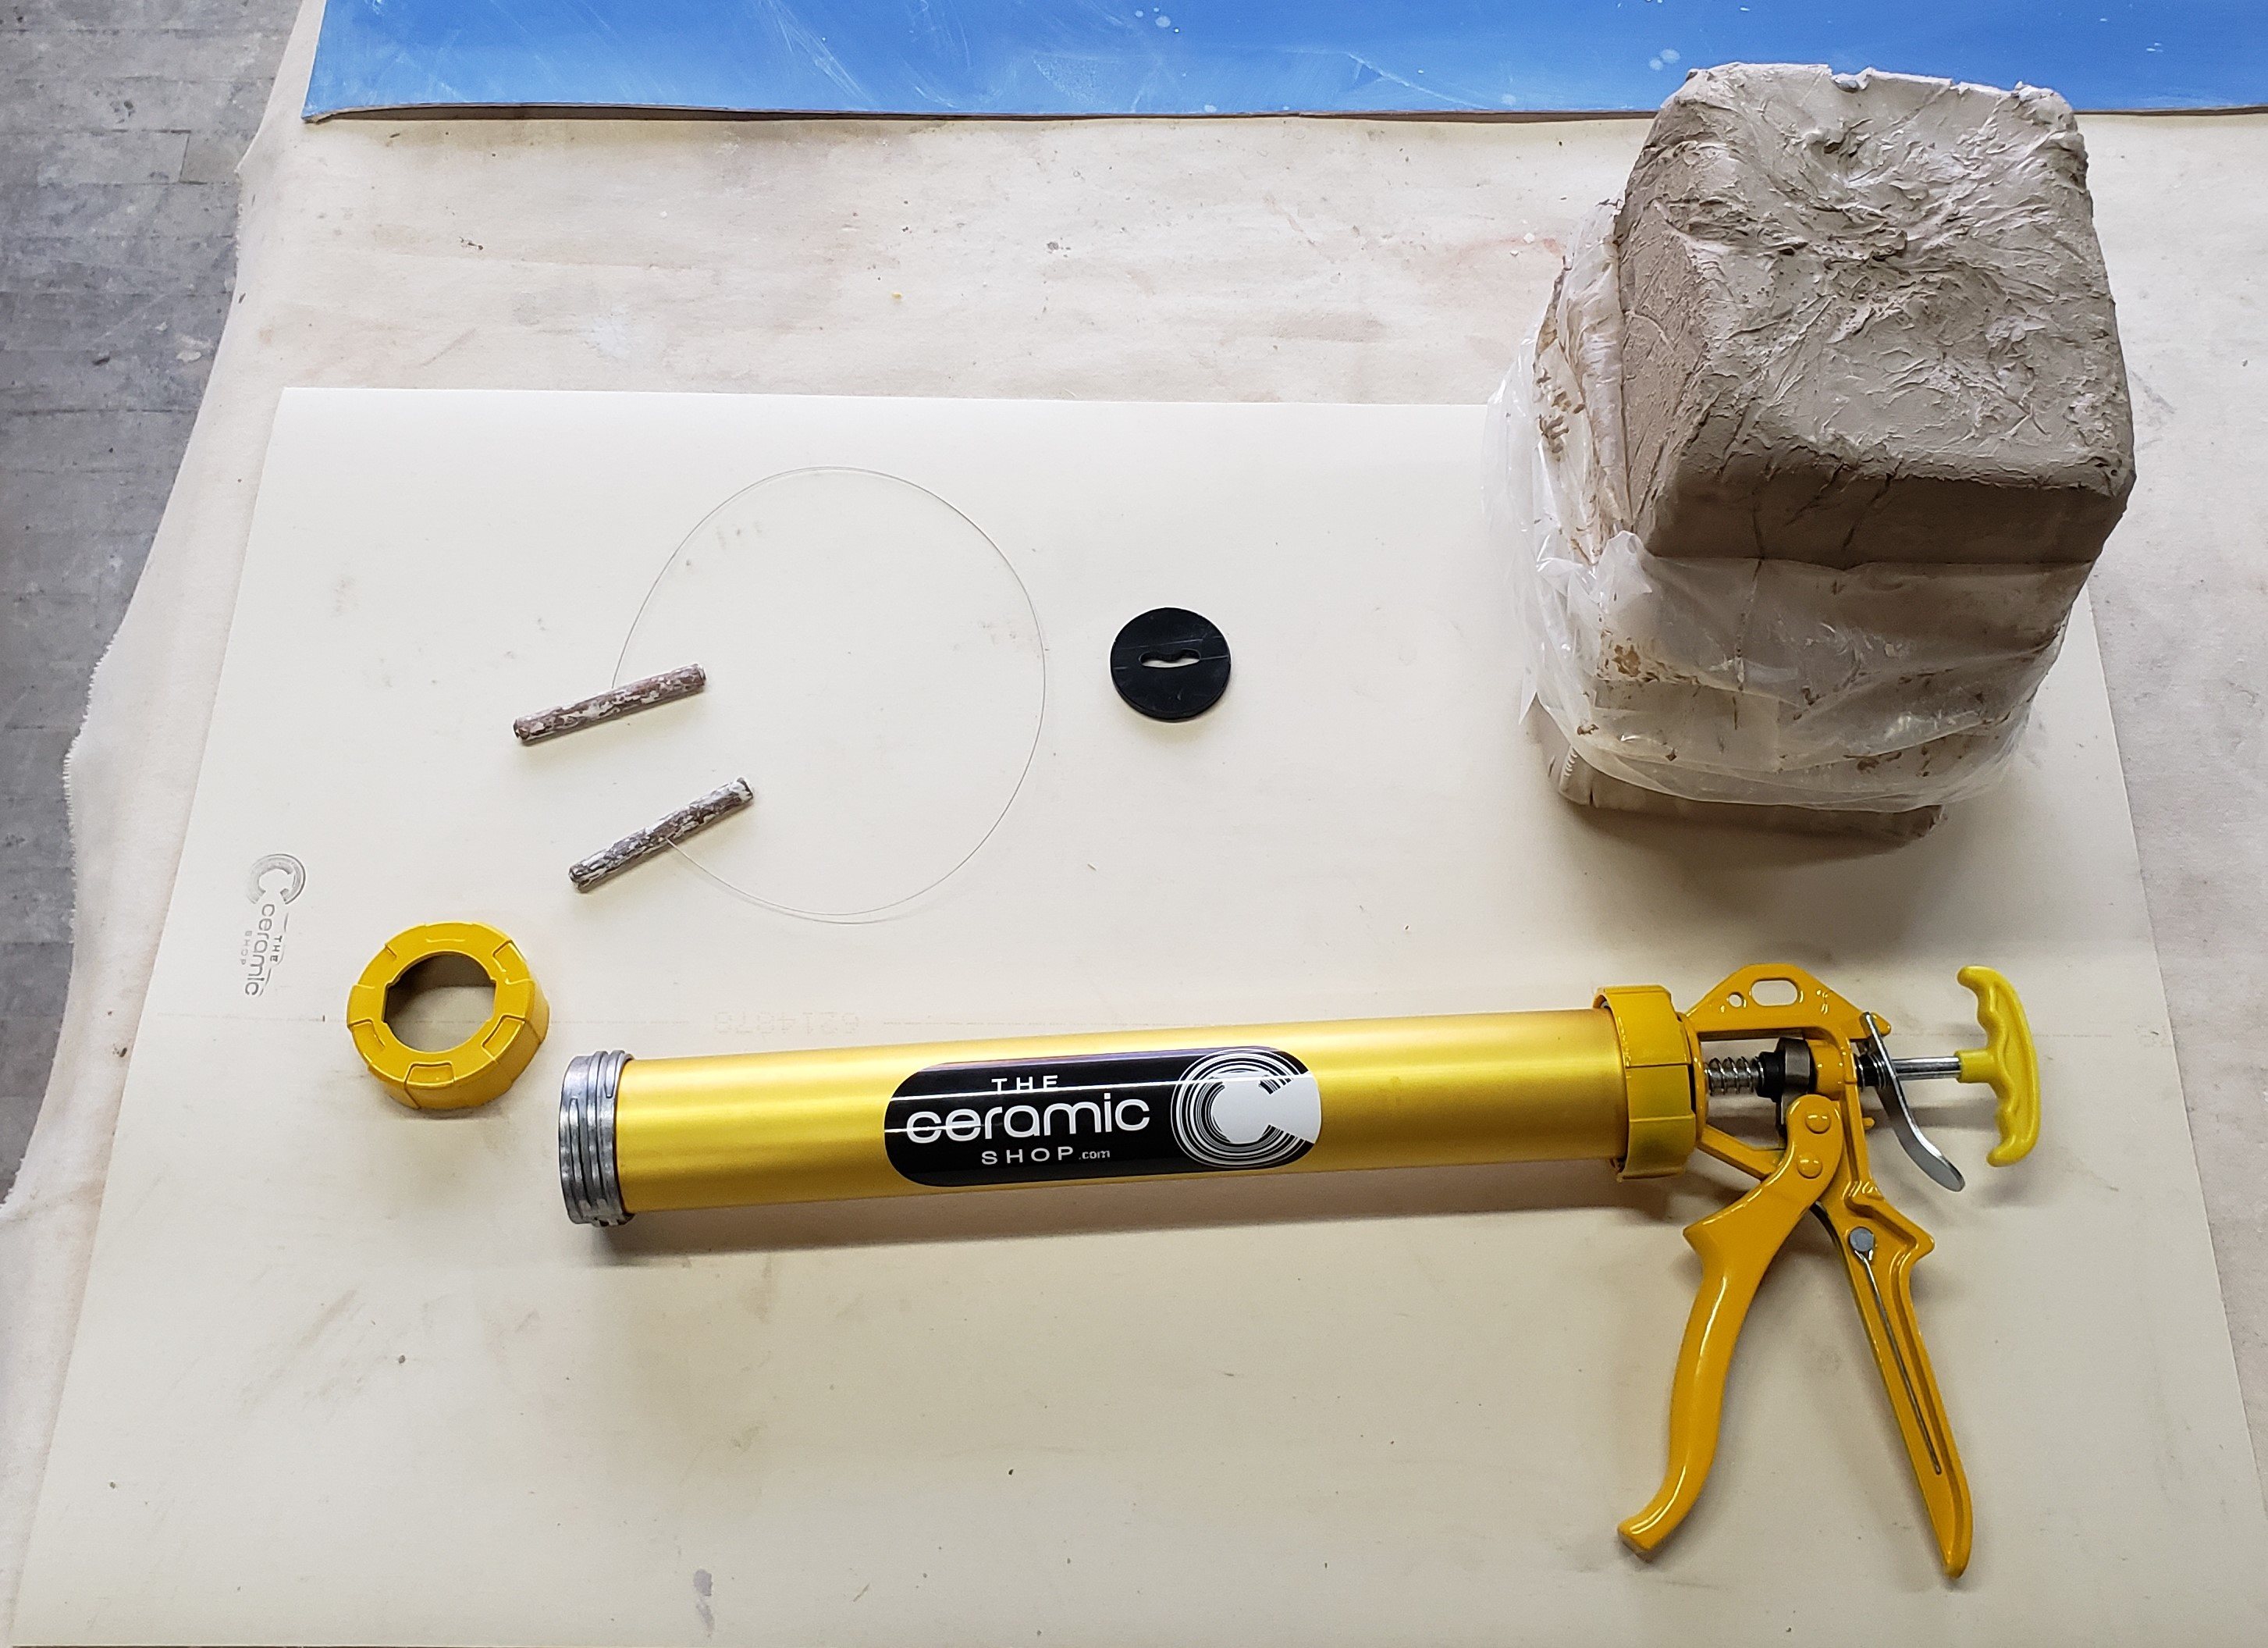
Start by removing the threaded end cap from the front end of the barrel. (As seen above)

To pull back the plunger, press the silver release button on the back of the handle. While holding this down you can pull back the plunger with the "T" grip to make room in the chamber for clay.

To load the chamber, roll out a coil of clay a bit less than 2 inches in diameter and put it into the front end.
** We recommend using clay that is on the softer side to make extruding easier.**
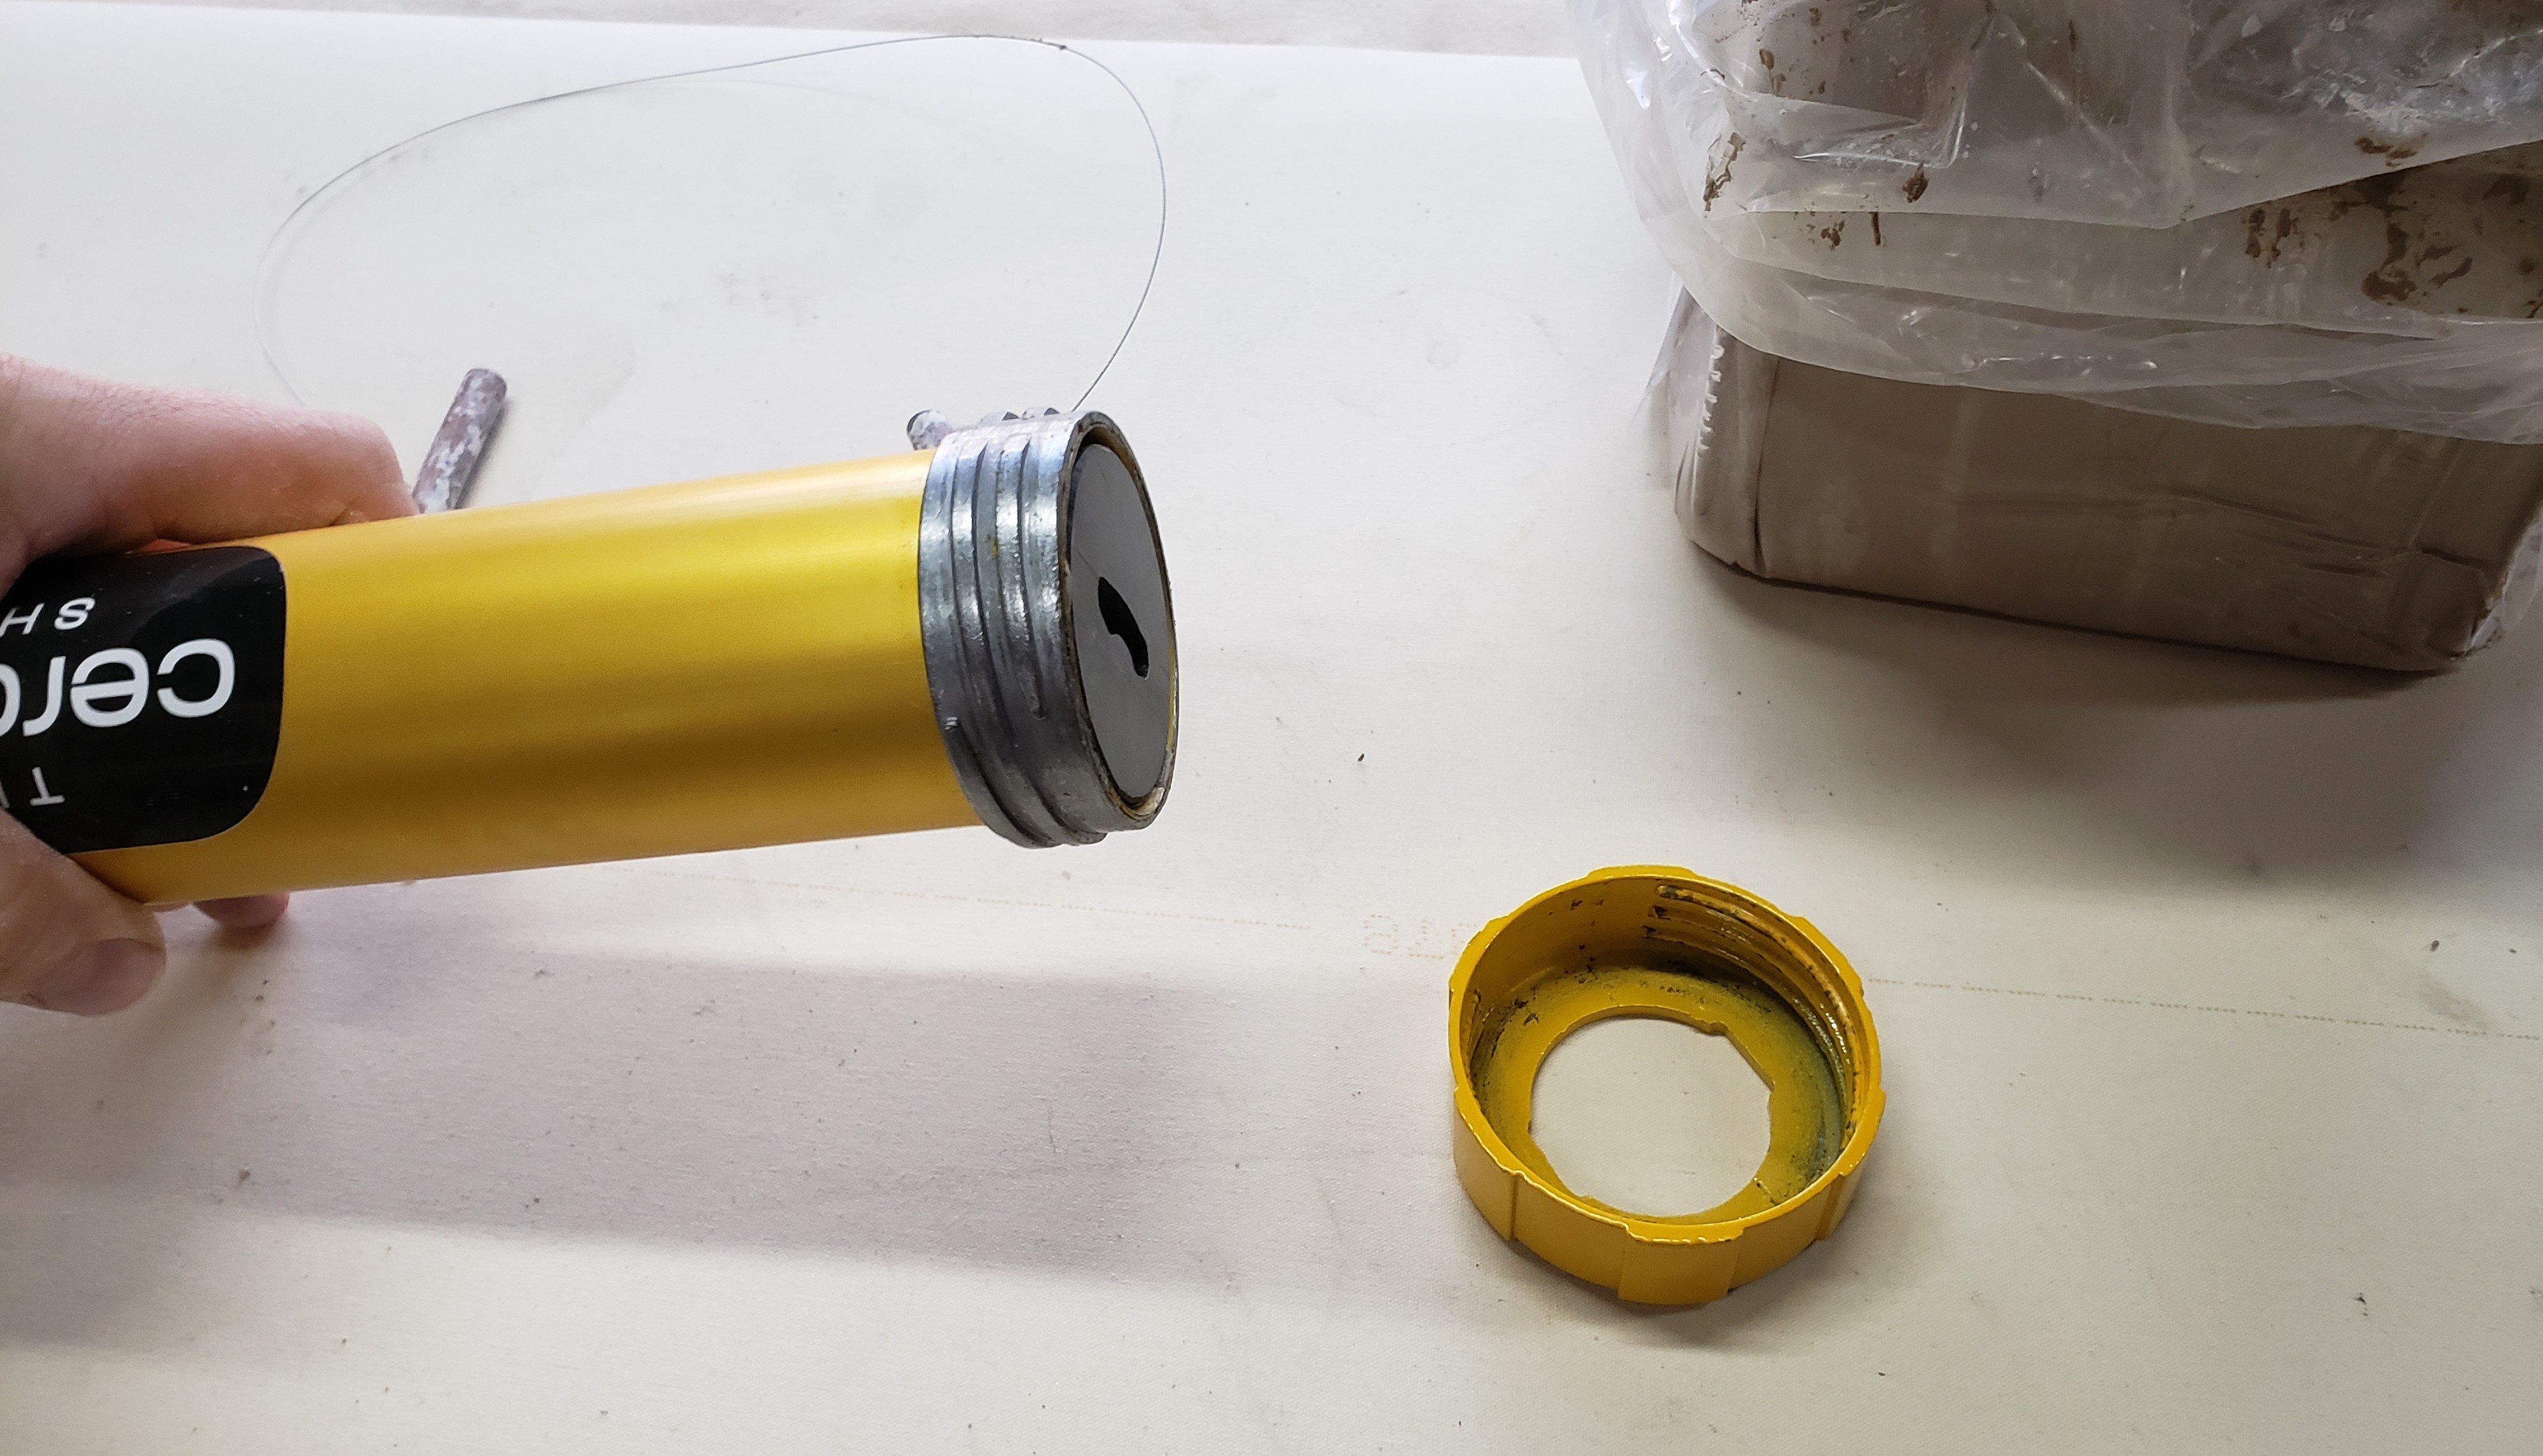
Place your chosen die into the end of the chamber so it is flush with the end without the cap in place.
This will ensure that the cap will screw on to be fully seated and will make sure the die stays aligned.
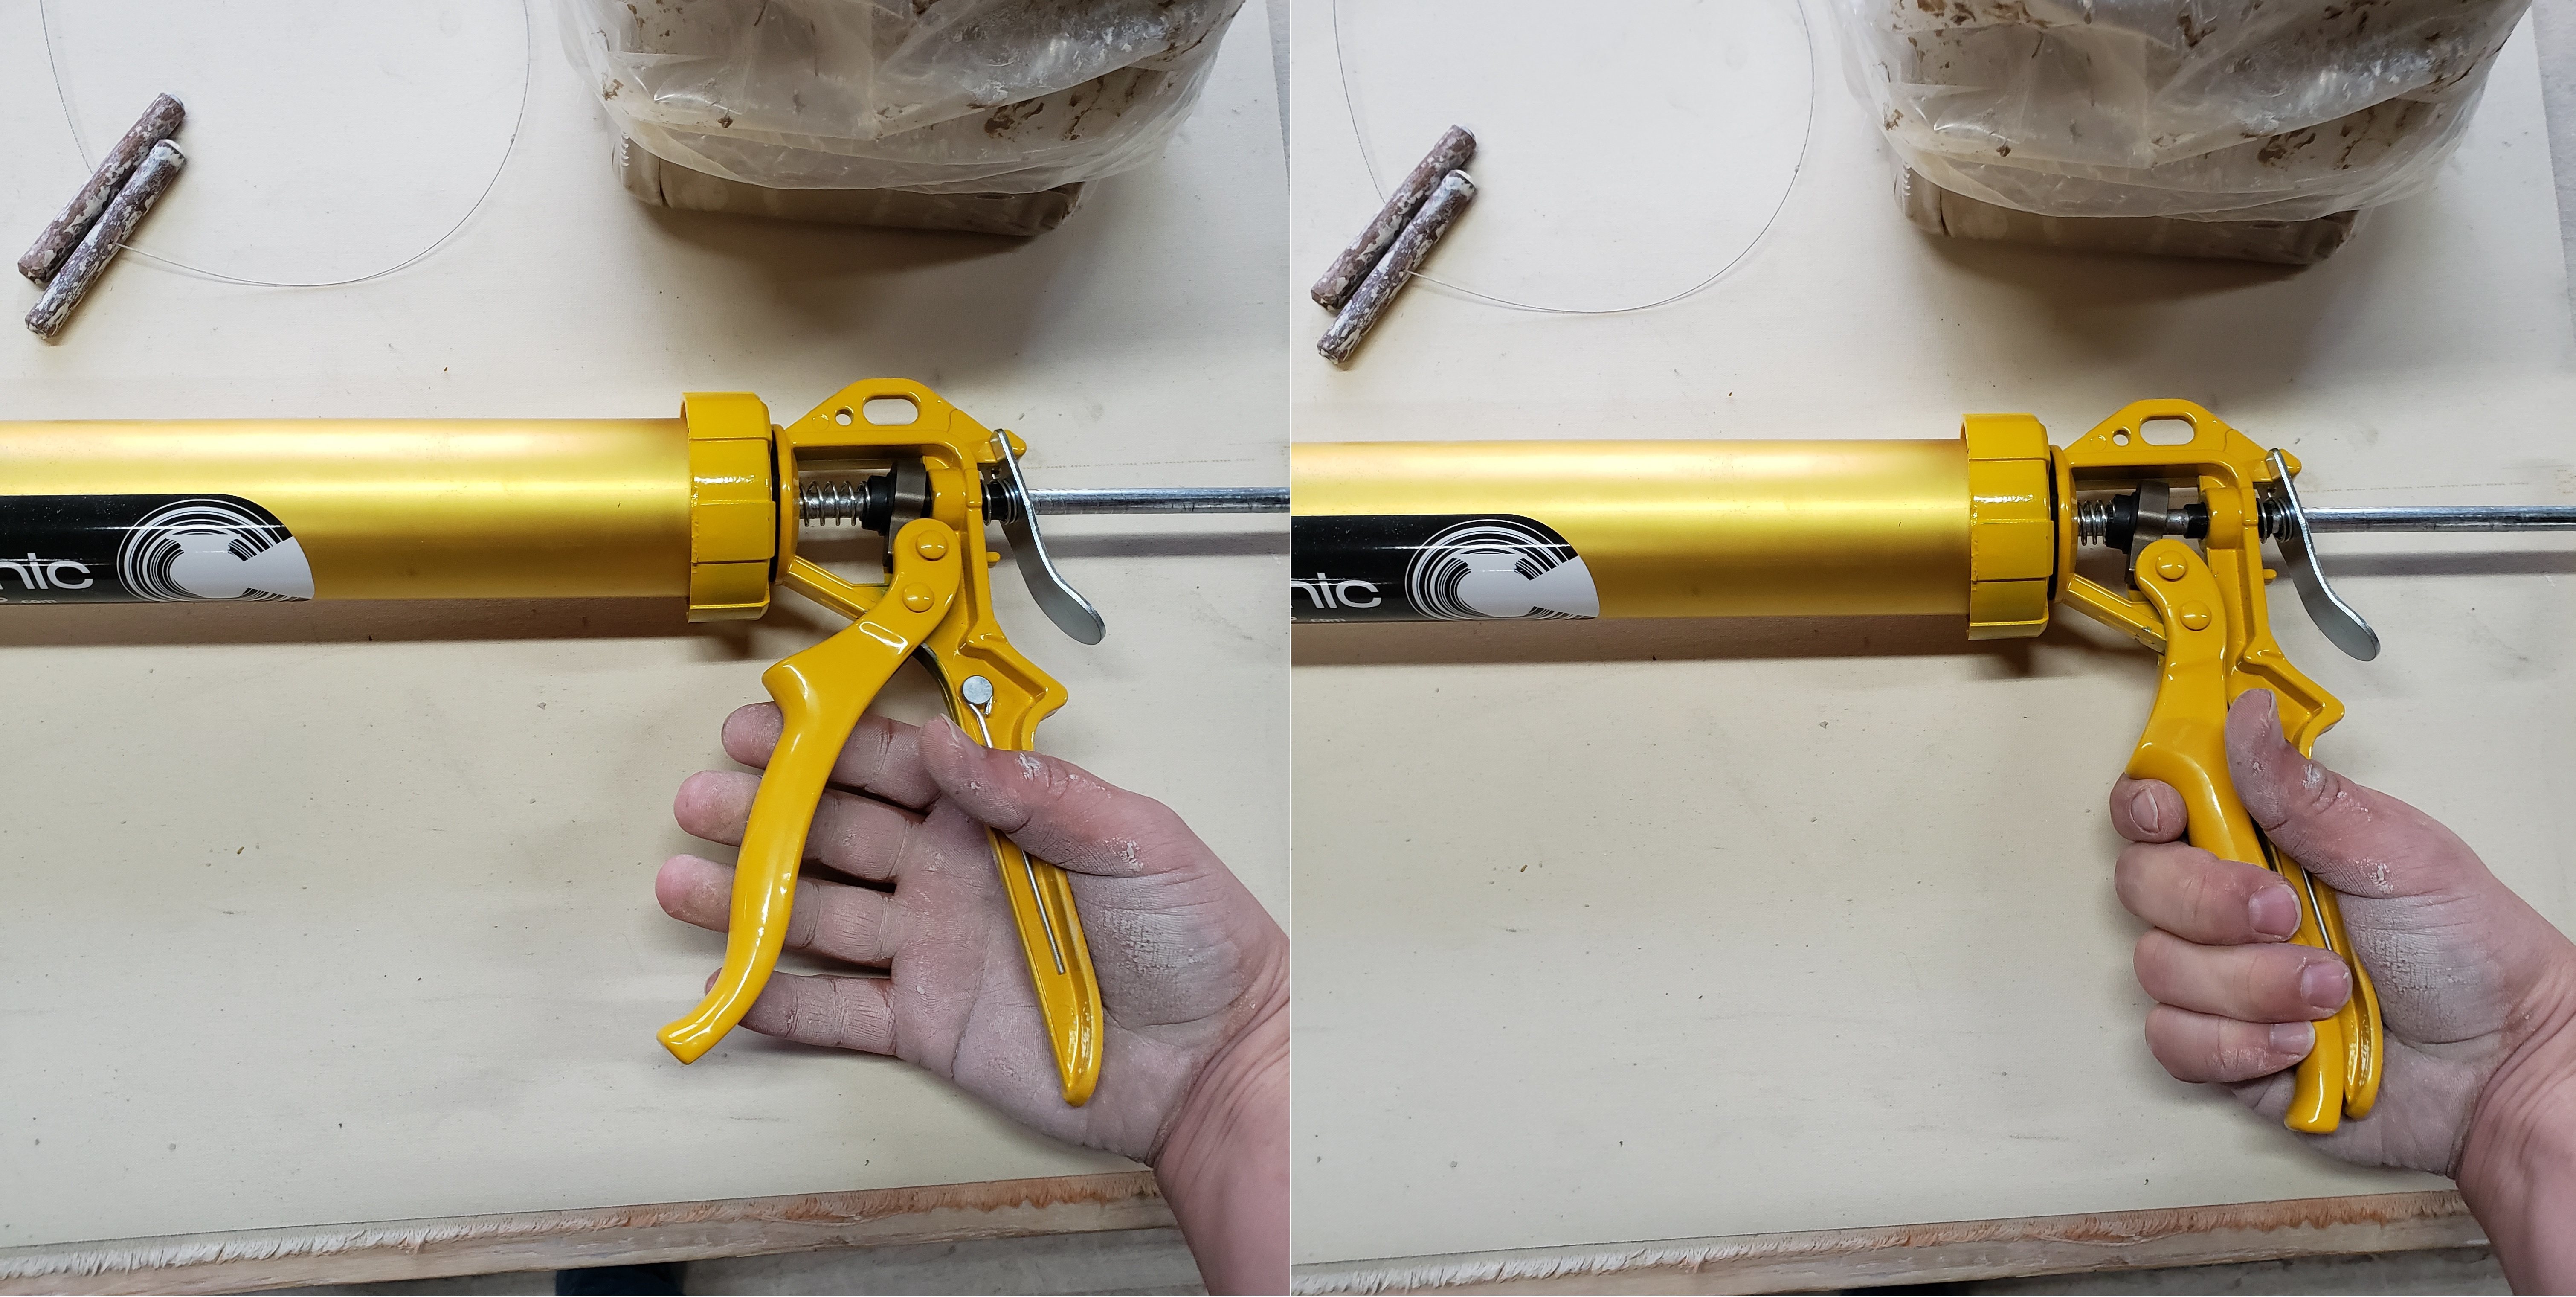
Squeezing the handle together will move the plunger forward to create pressure behind the clay.
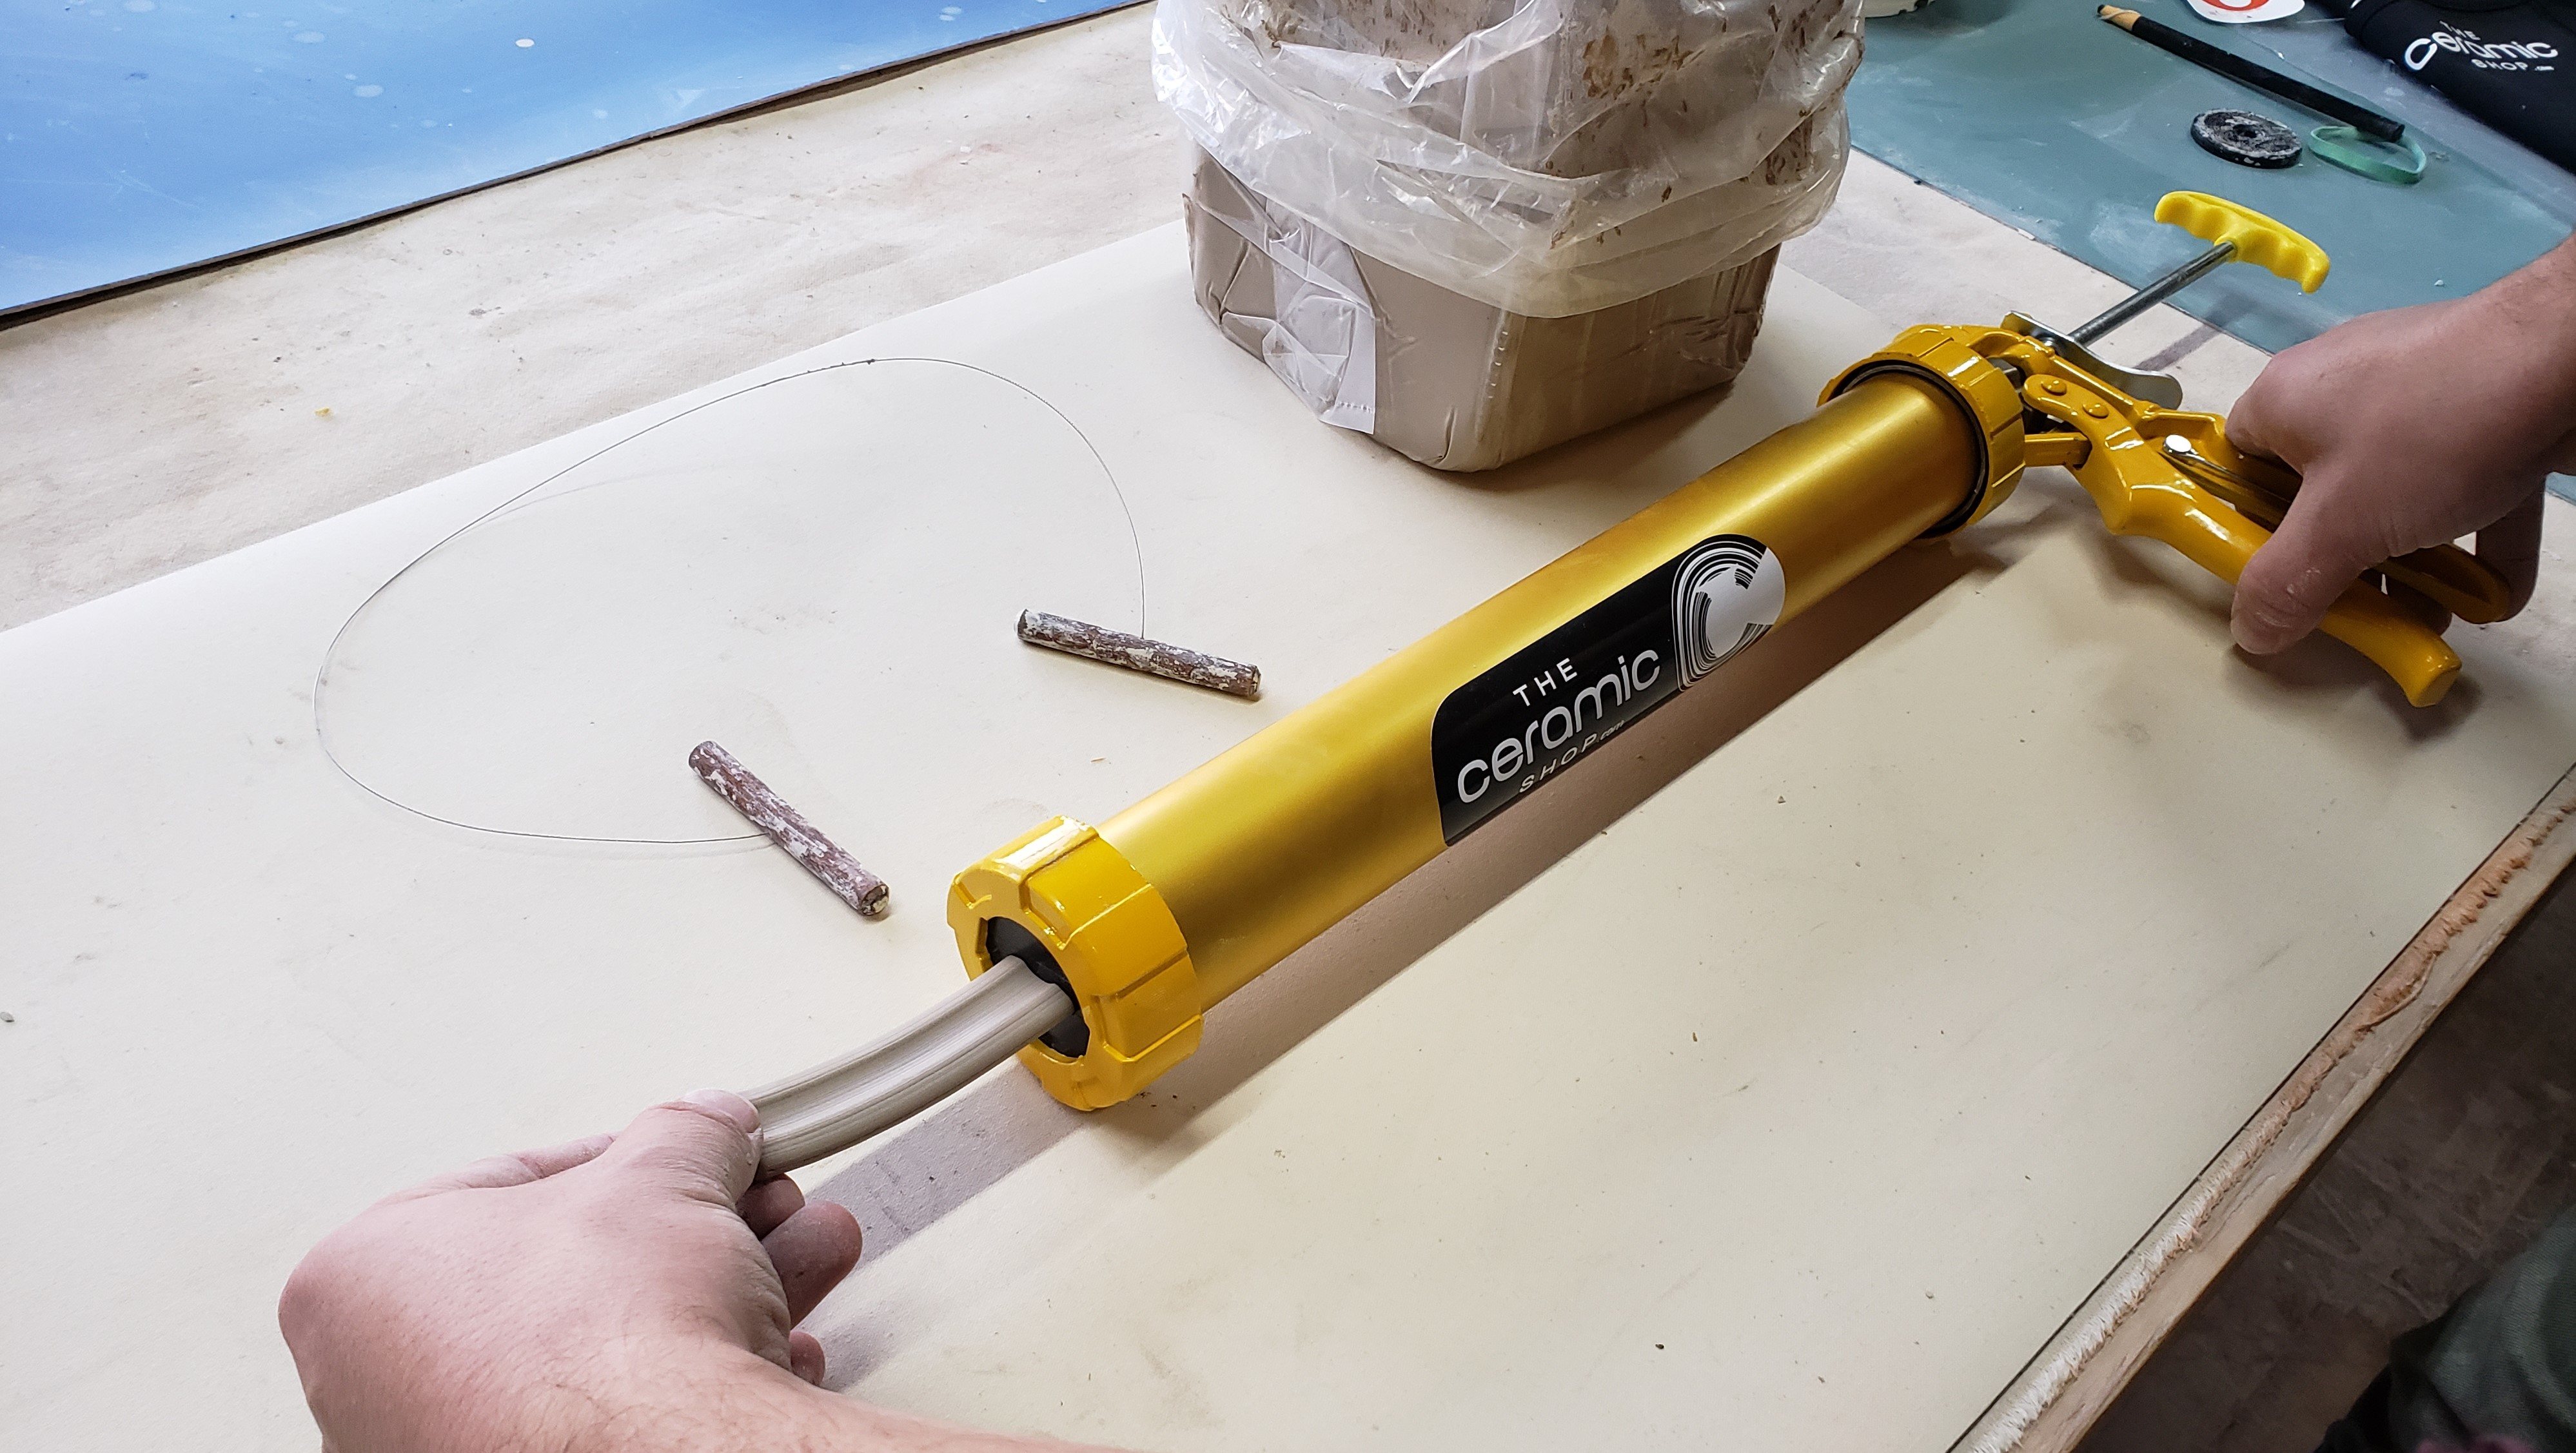
One method for keeping your extrusions straight is to lay the extruder on a tabletop and squeeze the handle with one hand while you guide the extrusion with your other hand. (Pictured Above)
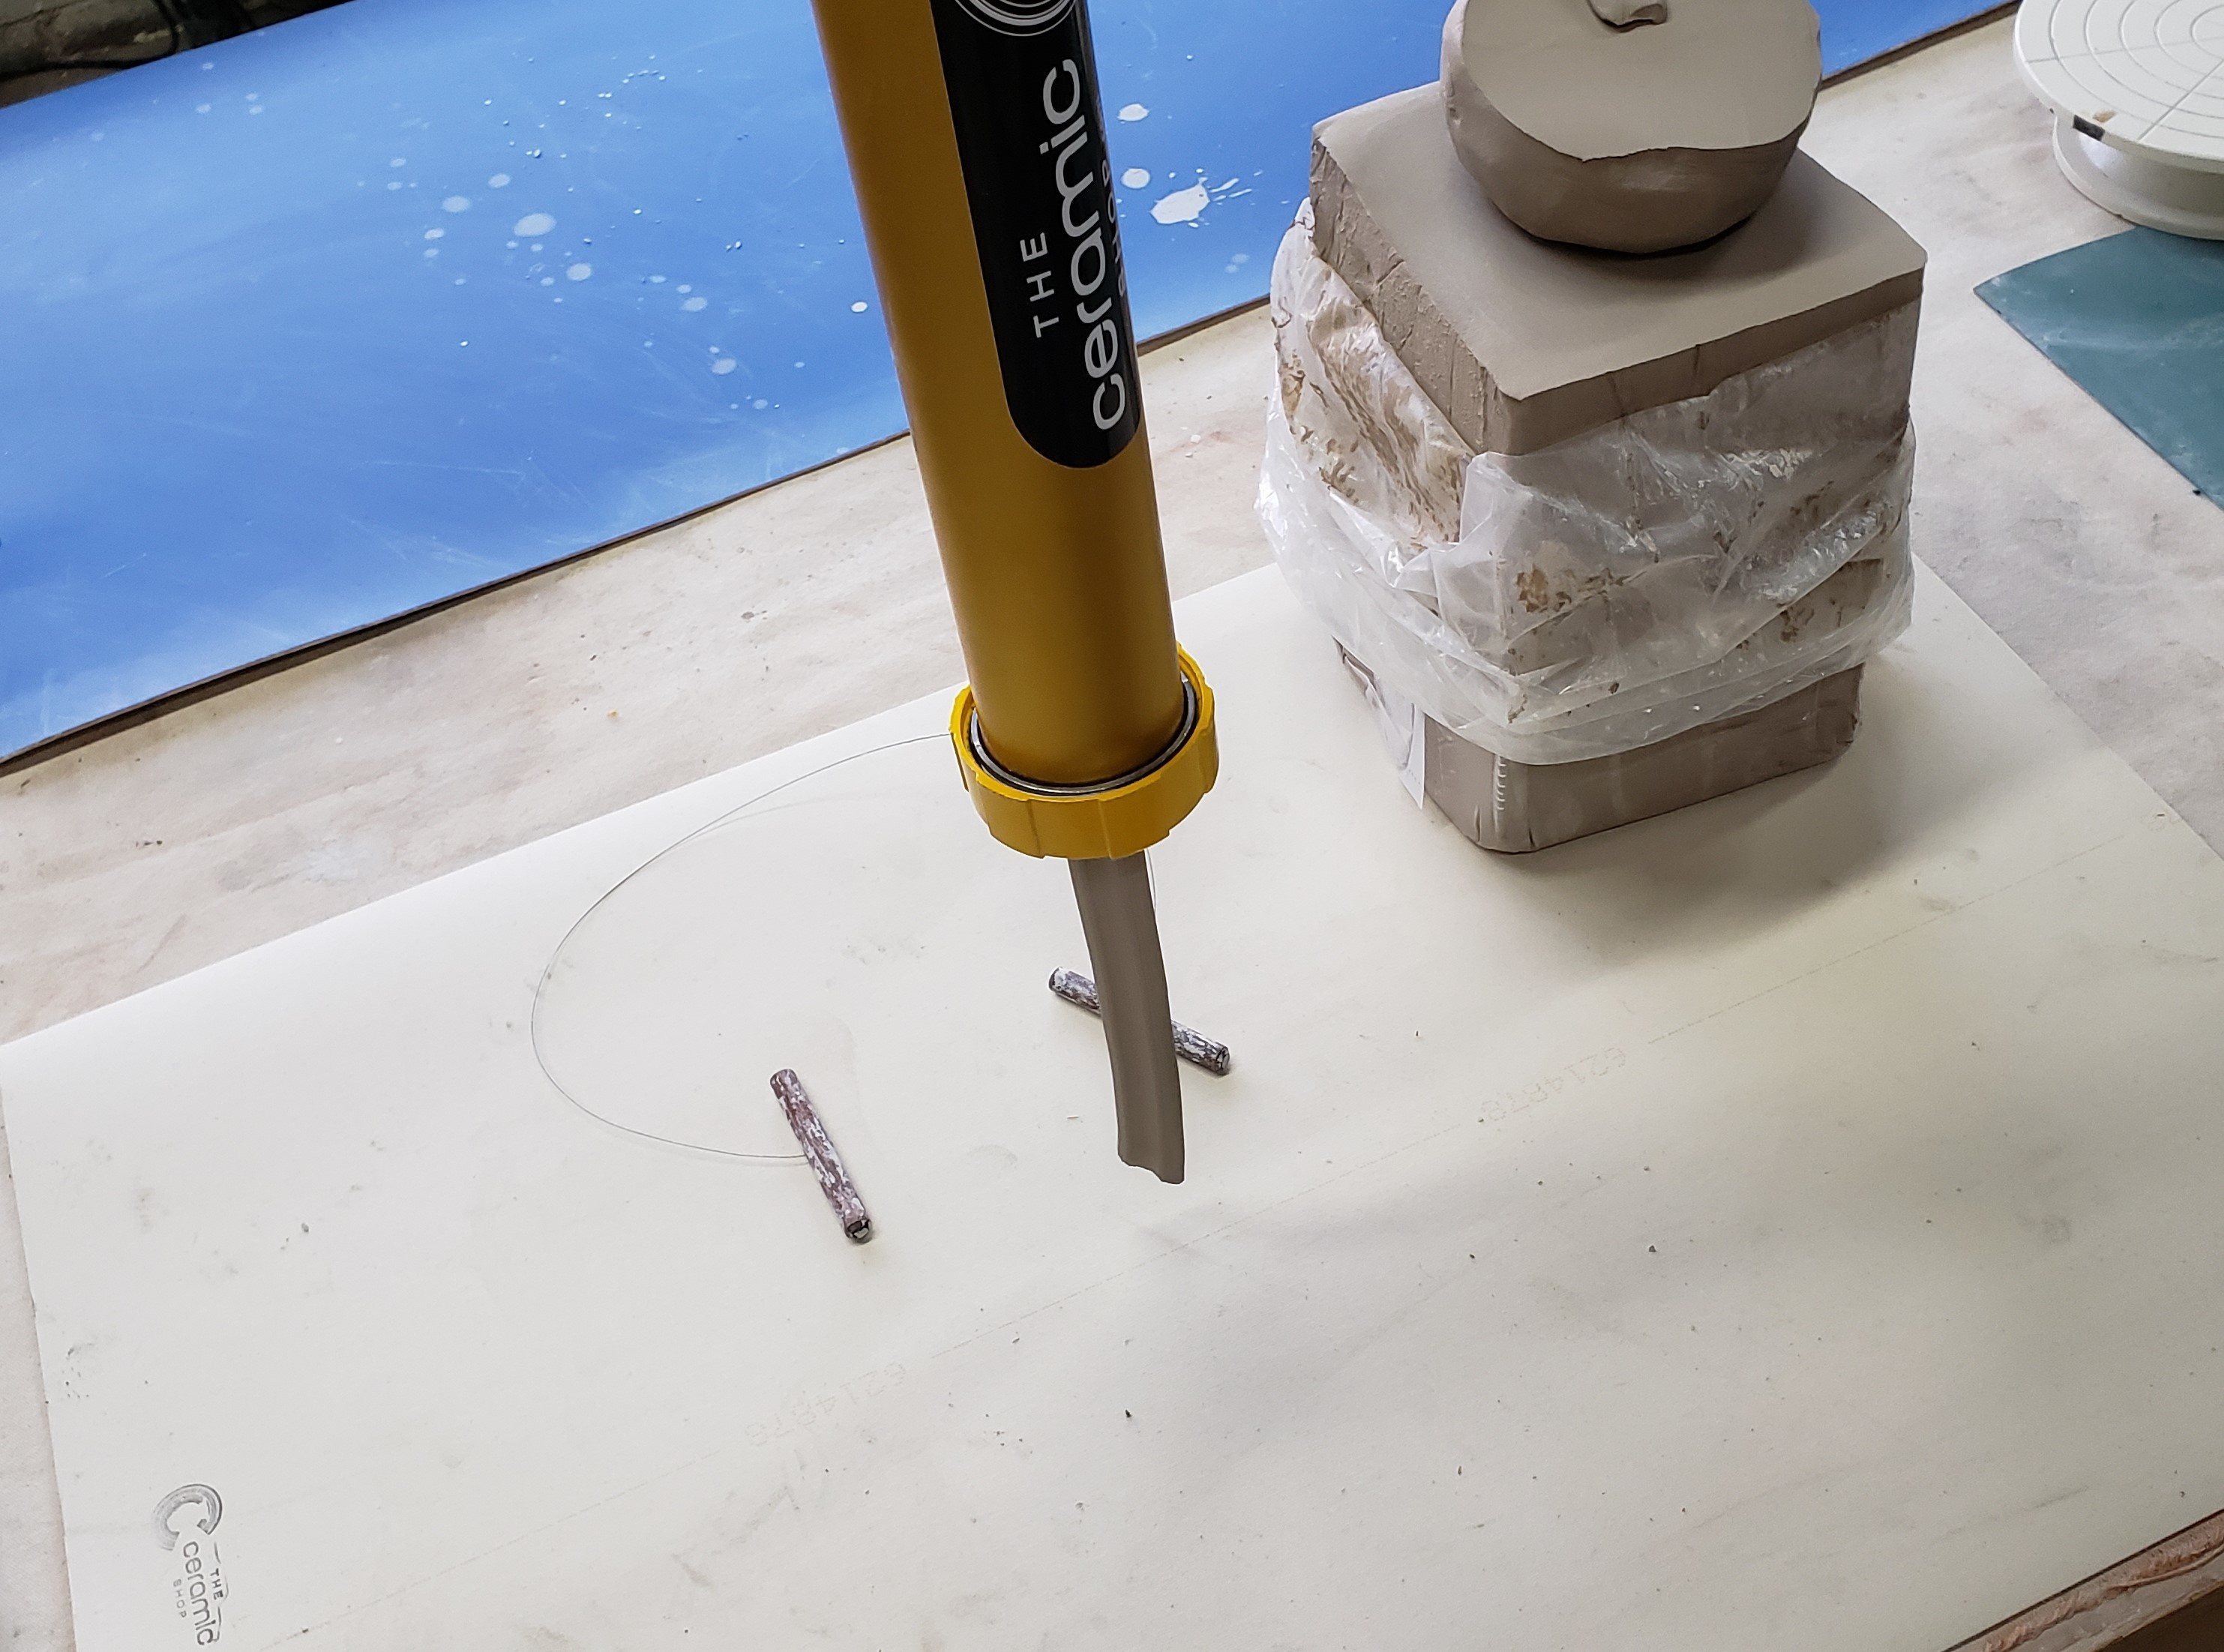
Another method for keeping the extrusion straight is to hold the extruder vertically and extrude towards the ground. Once there is some material extruded the weight will help guide it straight. (Pictured Below)
Tips for cleaning your Handheld Extruder
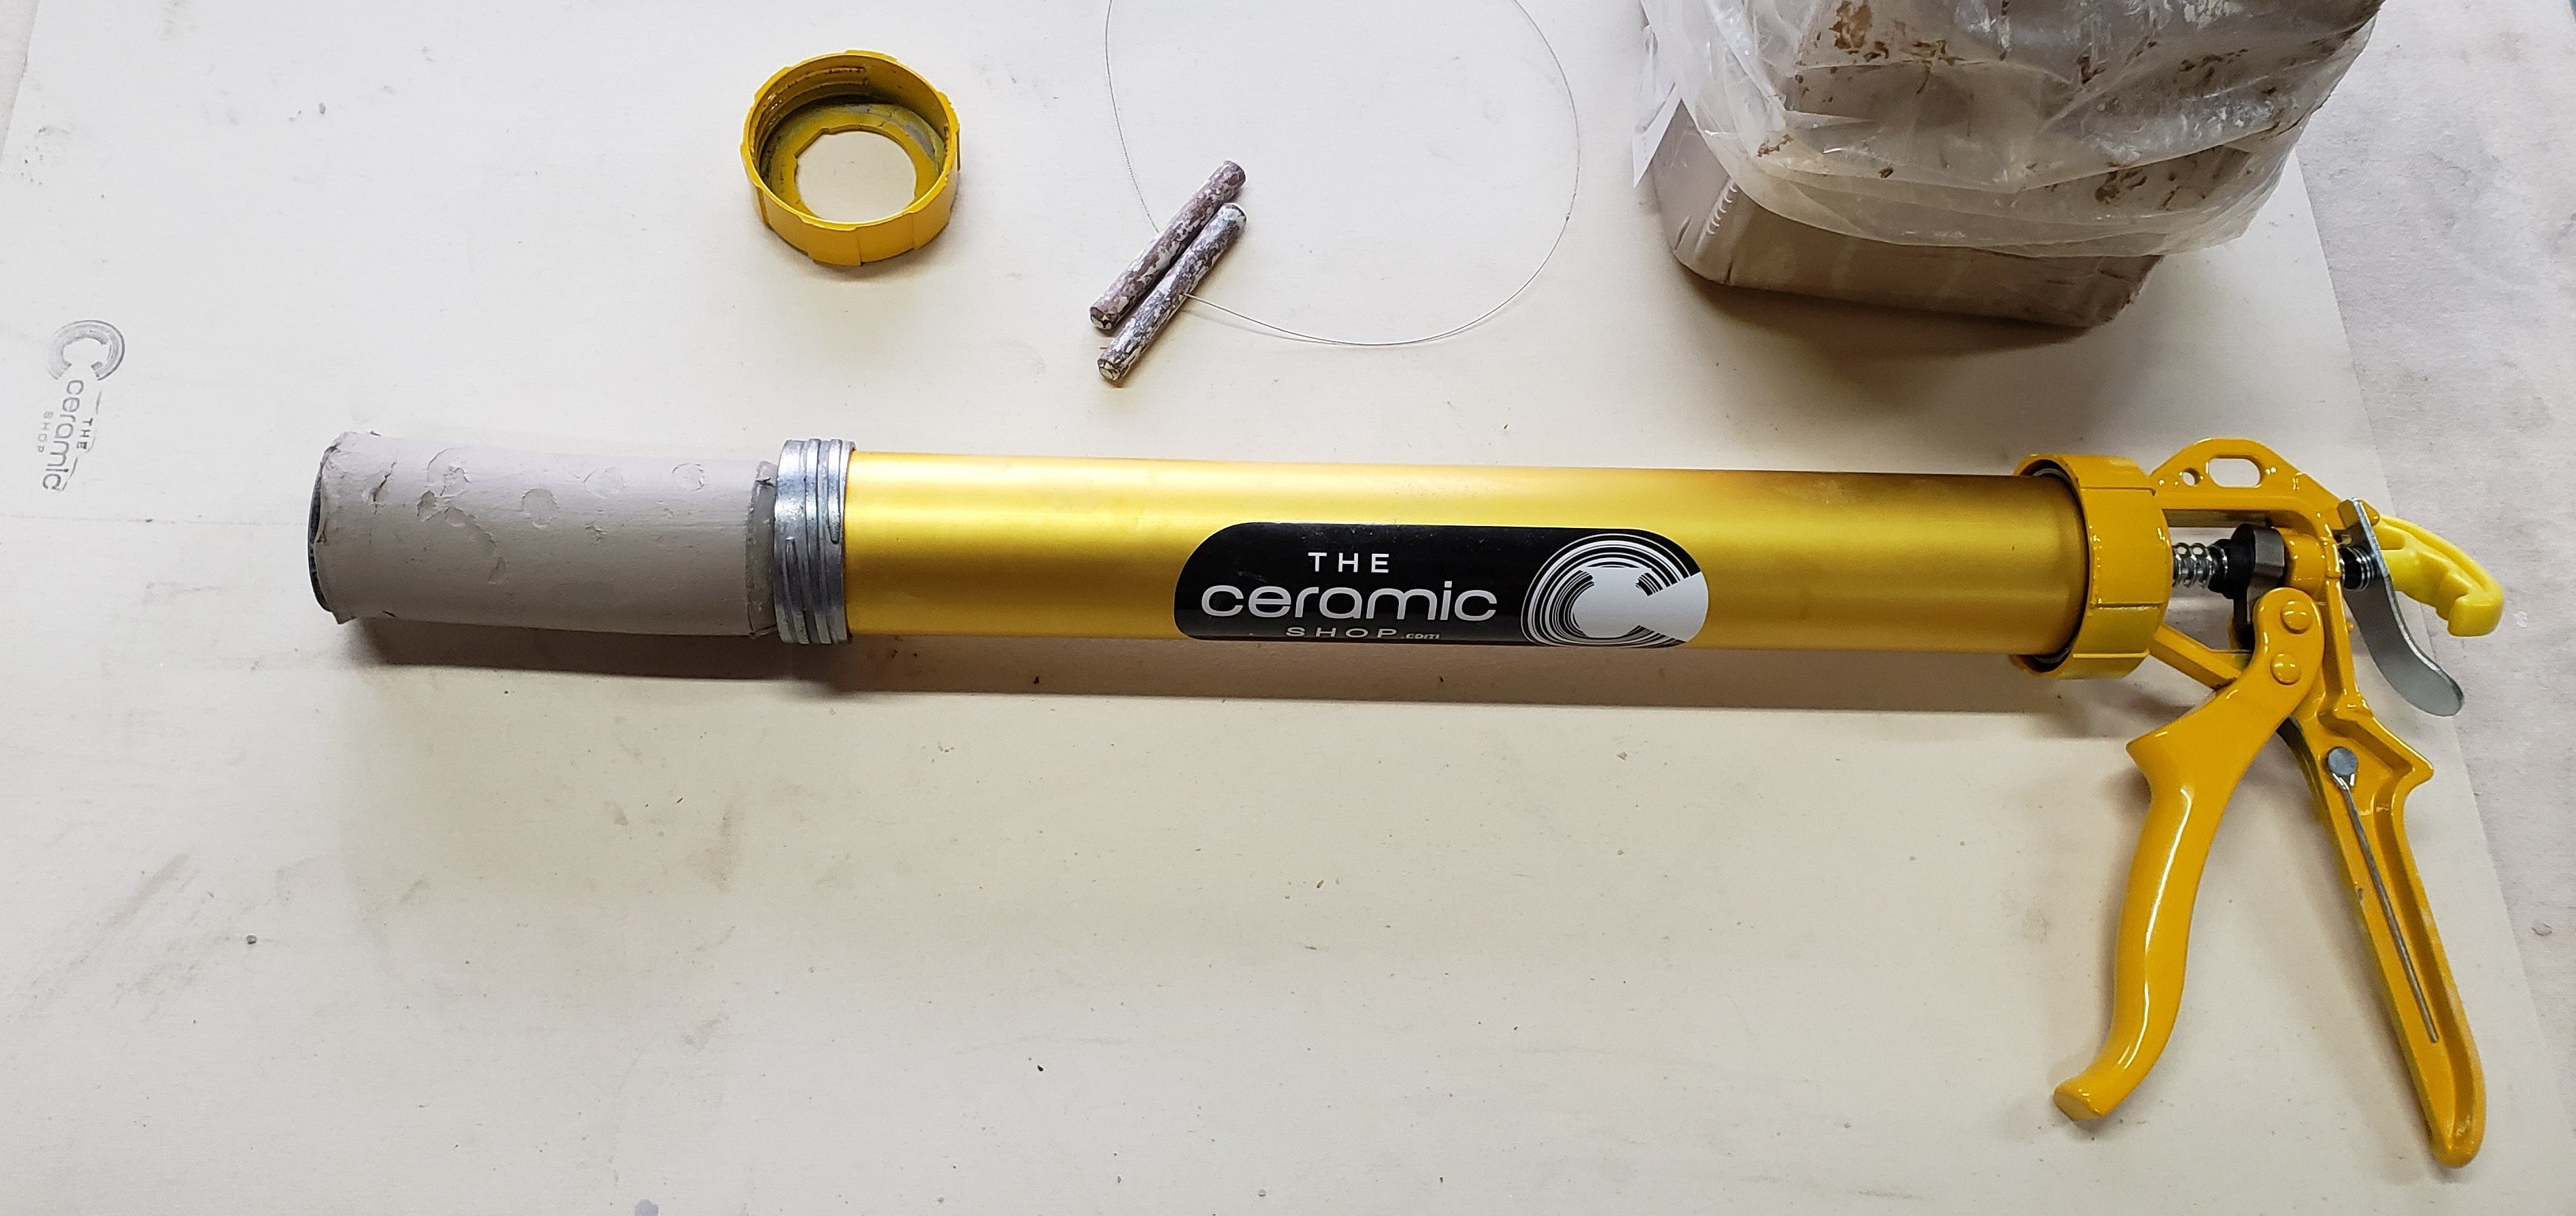
If you still have clay in the chamber after you're all finished extruding you can simply remove the front cap and squeeze the plunger past the opening to easily remove the clay. The plunger will help remove clay that is stuck to the inside of the barrel.

To make cleaning the plunger and the inside of the barrel easier, you can remove the barrel by unscrewing it from the back end cap.


